The technology of AI image generation has fascinated me from its very beginnings. Join me in exploring some of the breakthroughs that have improved image generation.
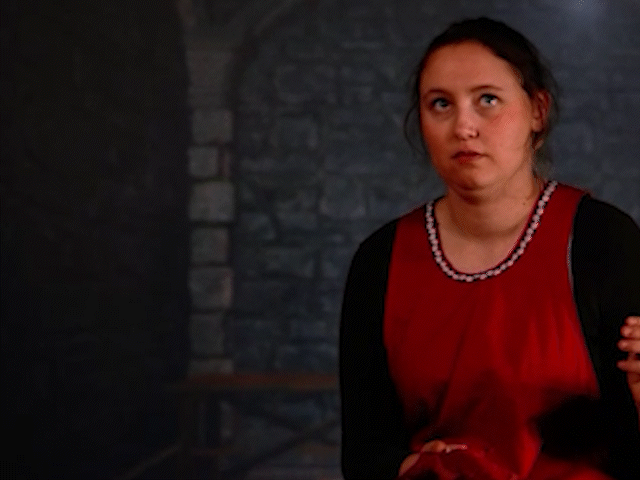
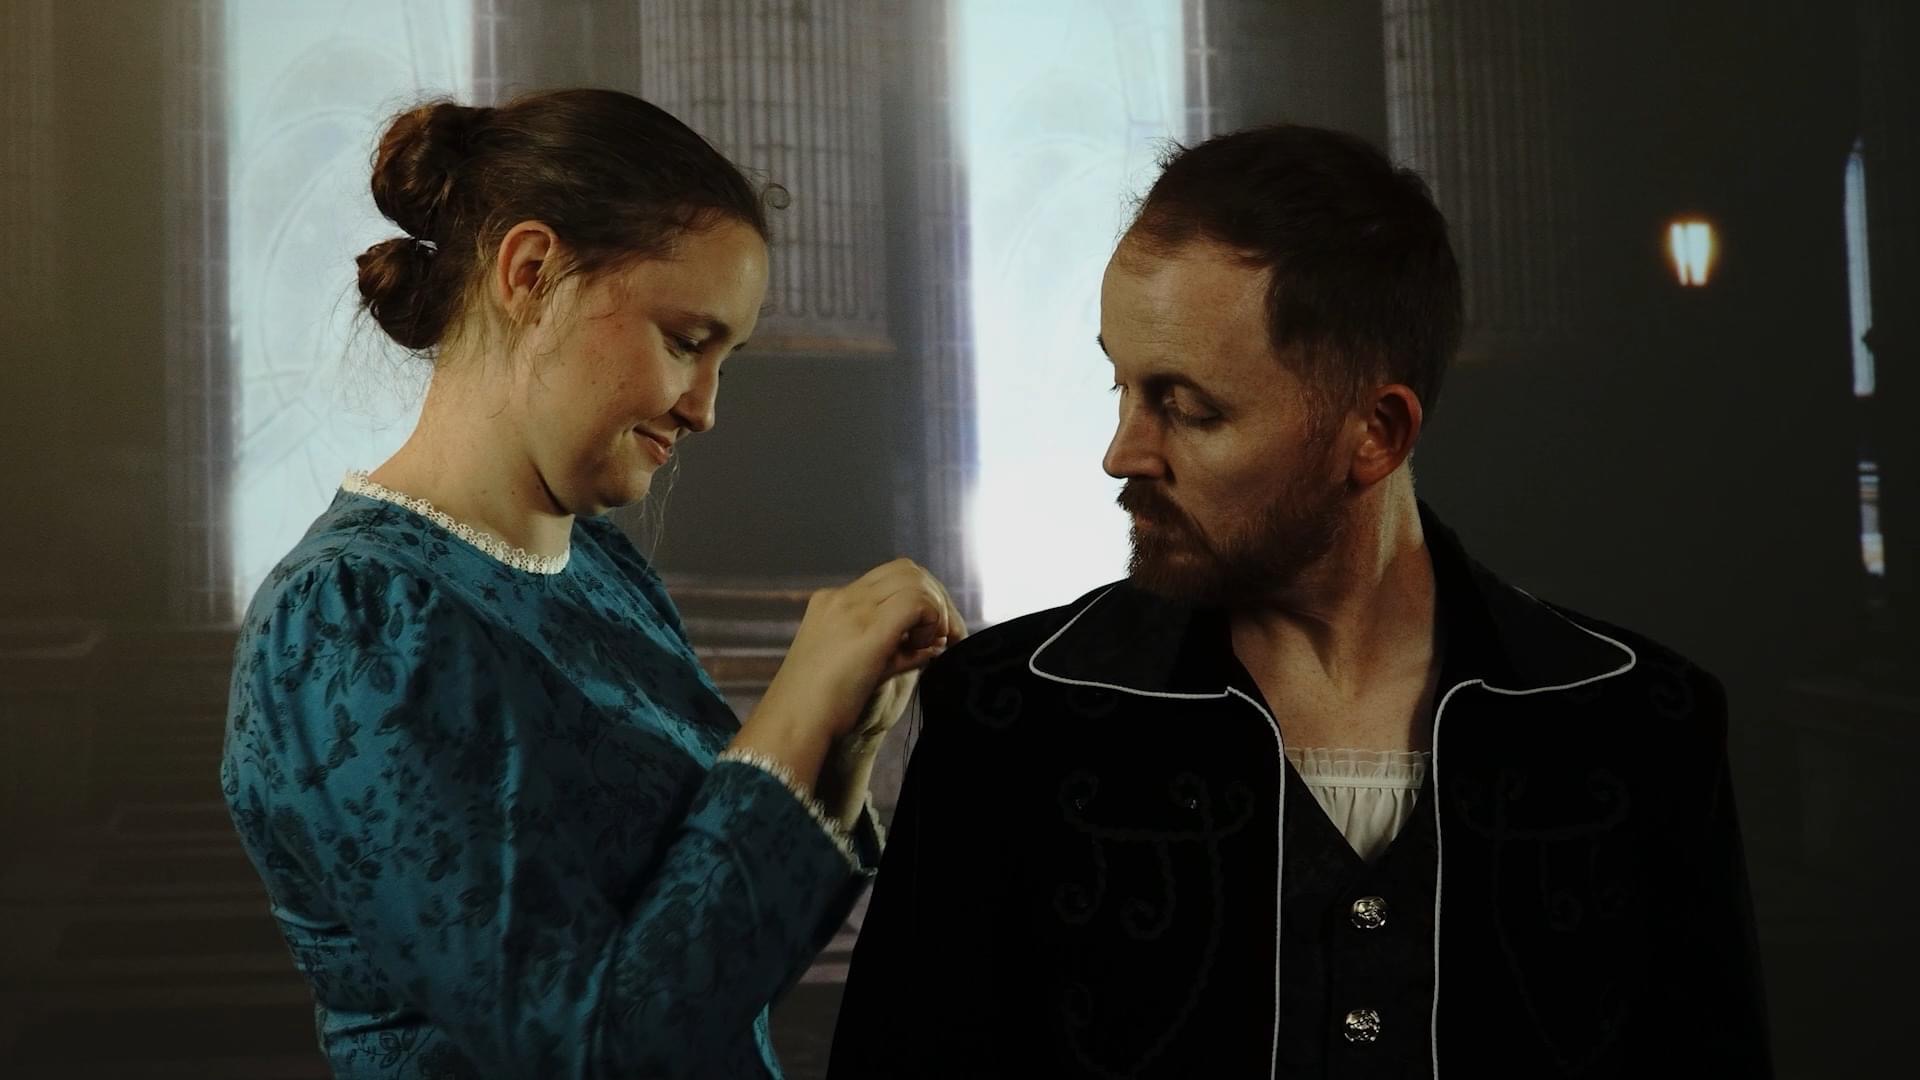
The early days of generative AI were pretty exciting. I discovered it myself in November 2022, when I was working on a short film for a weekend competition. For some reason I had written a fantasy script set in medieval-ish times featuring a seamstress and a reluctant Duke. To depict the seamstress’s fantasy life, I had written in visuals of several tapestries depicting battle scenes and the Duke himself.
I don’t know where I thought I would find these tapestries. In fact, I don’t know what I was thinking at all.
It was one of those 72-hour competitions, where we had three days to write, shoot, edit, and deliver a short film, so I didn’t have time to fly out to the Smithsonian or anything. After desperately searching for tapestry images online (of which there are very few), I wandered into the Midjourney website. There I was thrilled to find that I could generate all my tapestries within minutes.
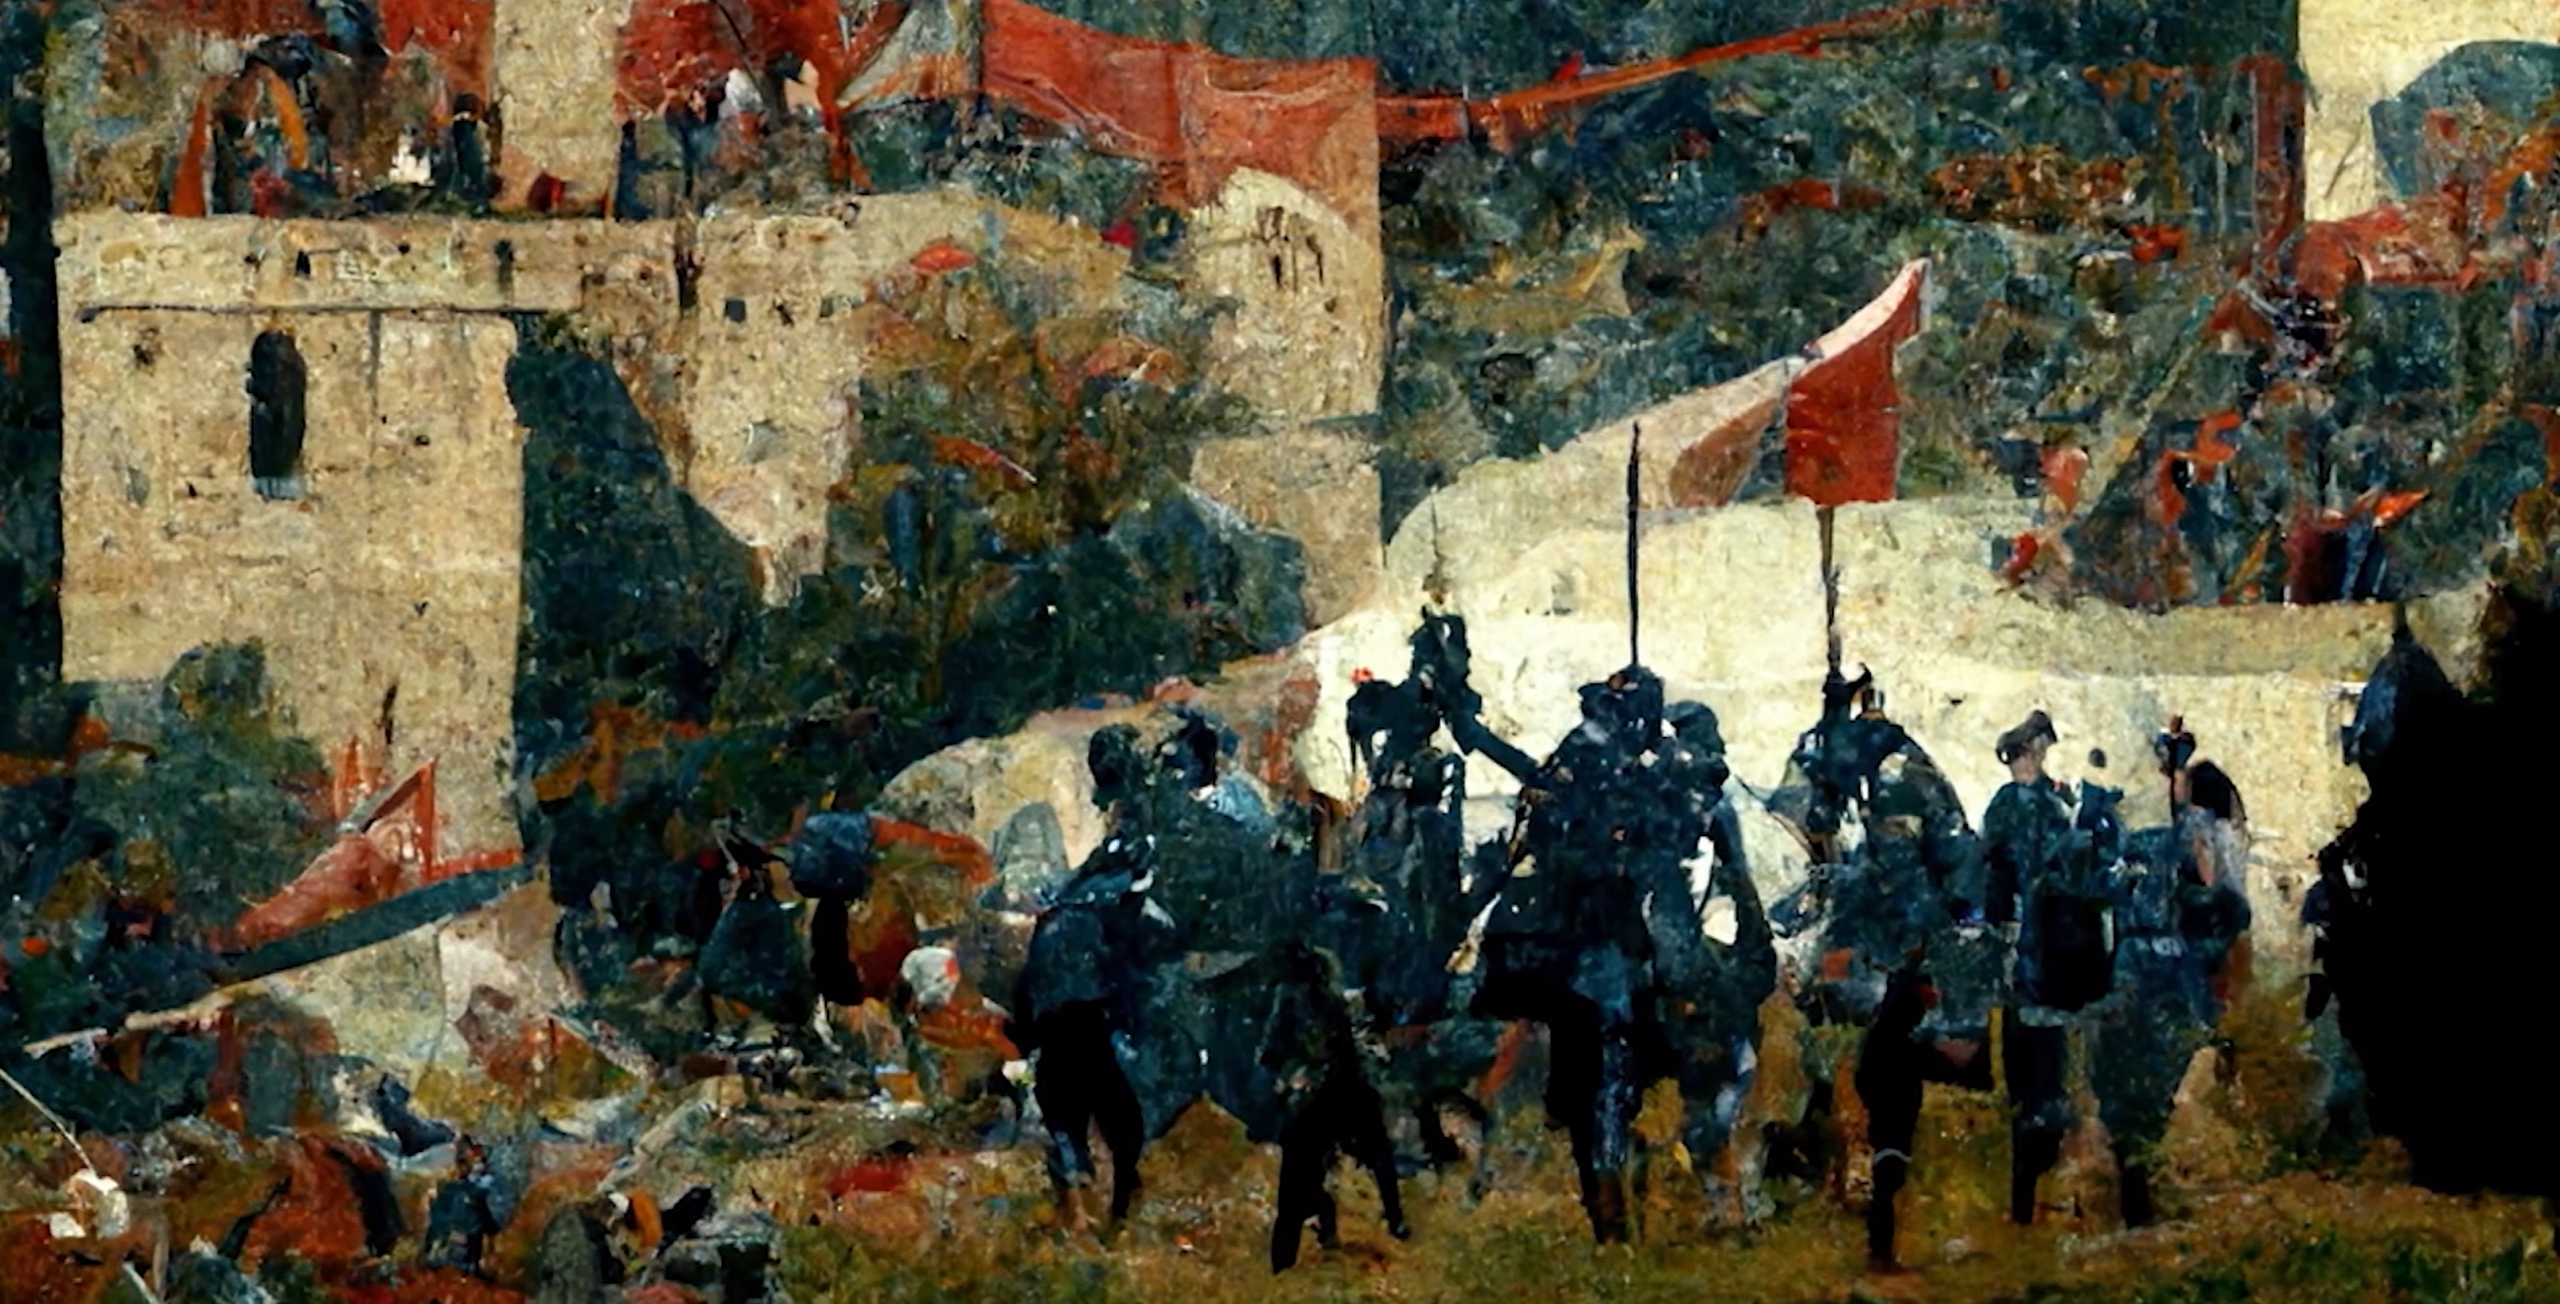
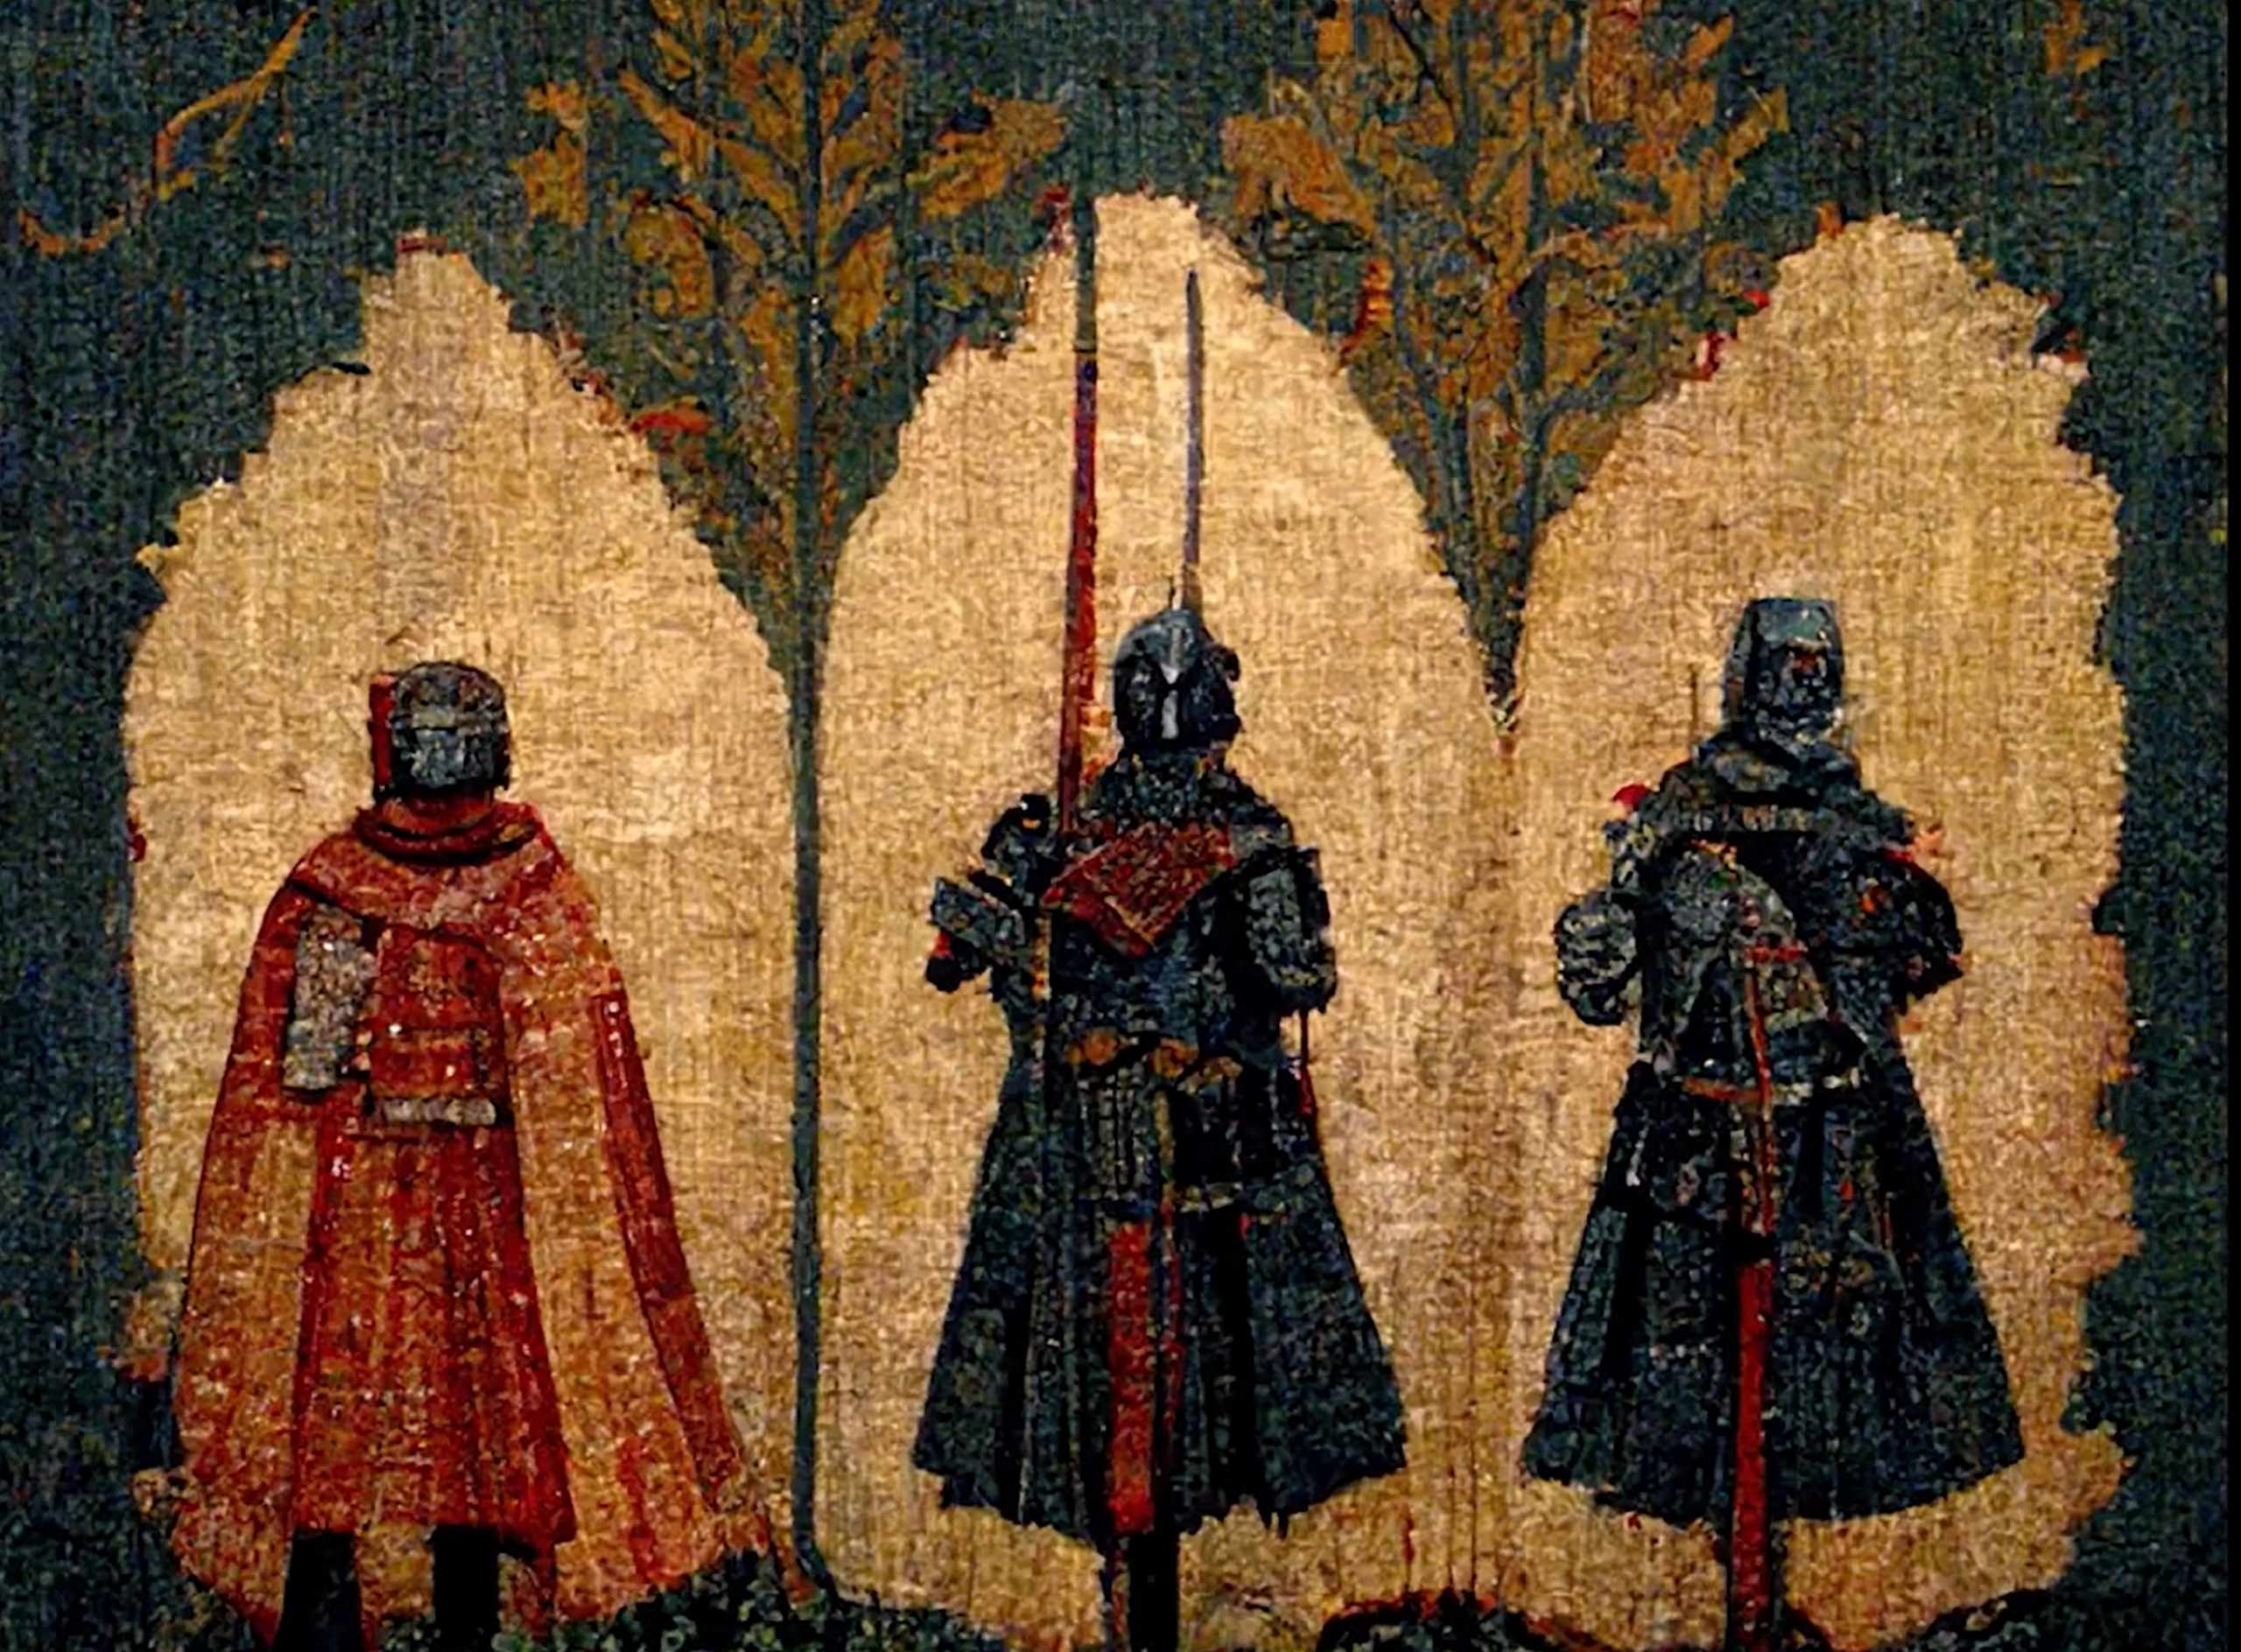
I couldn’t get the tapestries to look exactly the way I wanted, though. One problem I ran into when generating the images is that the 2022 Midjourney model didn’t handle things like attribute binding or negation very well. No matter how many times I asked it to replace the Duke’s hood with a peasant farmer’s hat, or turn his robe green, the model just wouldn’t do it.
As a side note, in November 2022 generative AI was new enough that other filmmakers asked me where I was able to find such rich tapestries on short notice. (It was also early enough that the competition hadn’t yet banned AI-generated content, but that’s another story altogether.)
The shape of model failures
Midjourney wasn’t alone in this problem. DALL-E and every other image generation model I tried shortly afterward had the same failures.
The failures weren’t that surprising, when we look at the way generative AI is written to work. In their original forms, models couldn’t interpret composition-related instructions like “next to” as in “a cat next to a box,” or negation like “a house with no roof.”
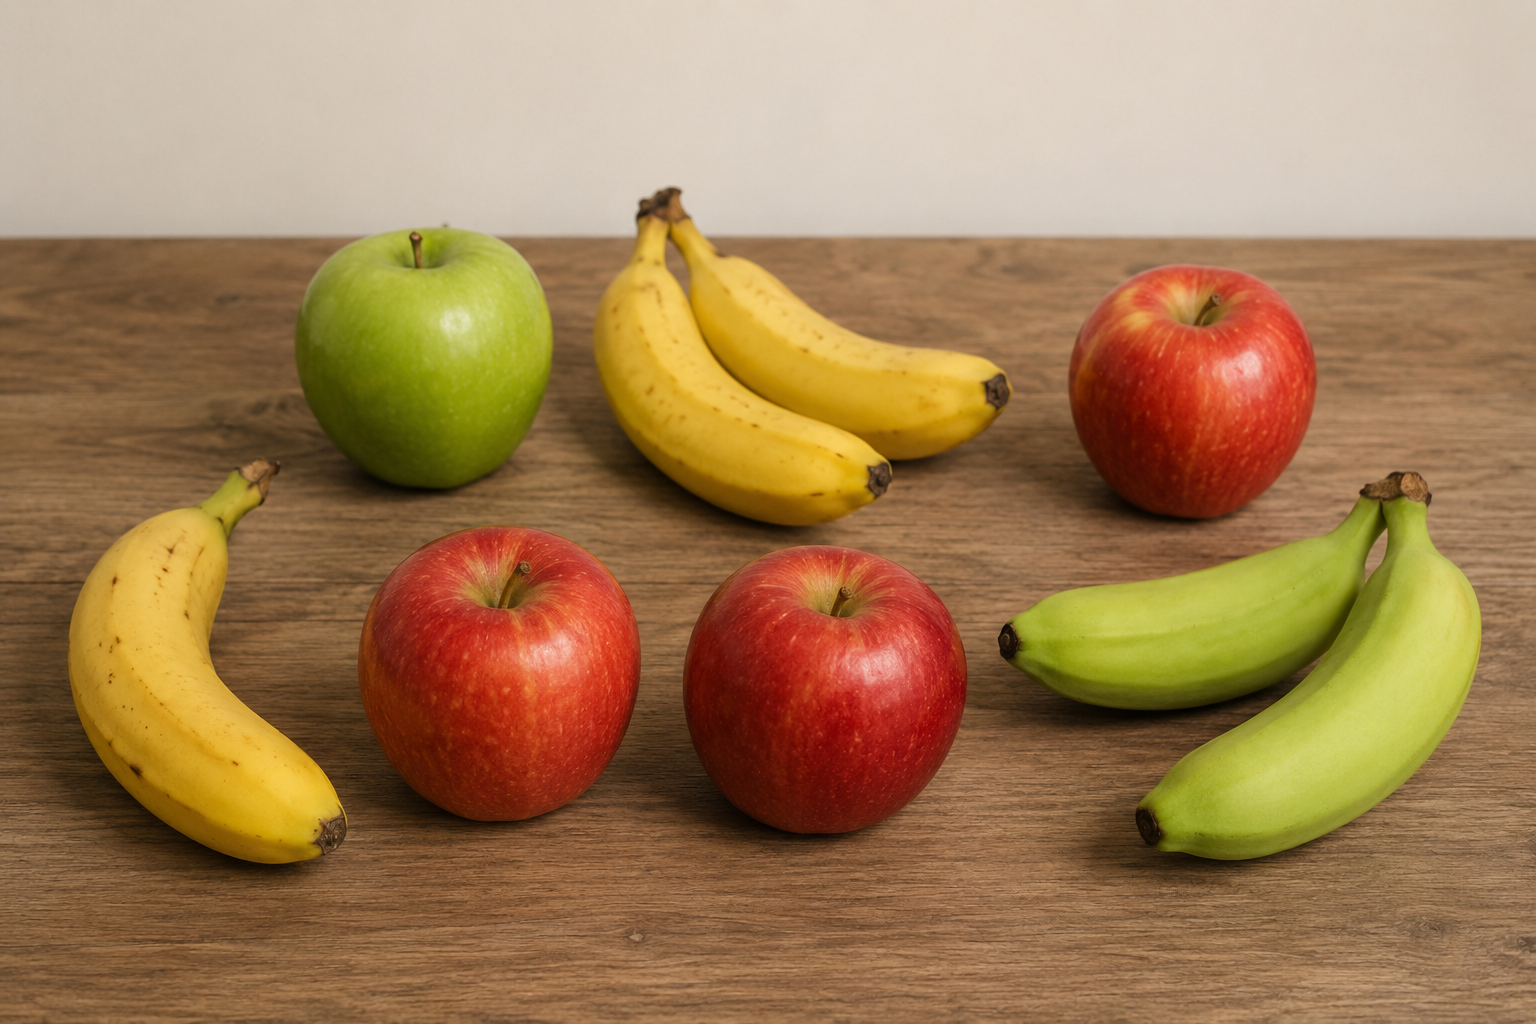
They also struggled with numeration — a prompt asking for “three apples next to two bananas” might produce six apples and one banana, or any combination thereof. And if you ask for red apples next to green bananas, you added attribute binding to the mix, which seemed to confuse the model even more.
Solving the failures
AI model developers definitely noticed these failures, and the years since 2022 have seen a flurry of technical papers around solving these problems specifically. (If you want to explore the technology without heavy reading, this paper and this paper have a lot of images that show the evolution.)
The problem was that image-generation models had not been trained on compositional relationships, a catch-all term for numeration, attribute binding, the relationships inherent in prepositions such as “on,” “under,” “next to,” “behind,” and “in front of”. The same solution could also apply to verbs that imply positioning, as in “a dog chasing a cat” or “a woman pulling a cart.”
Solving these problems wasn’t just a matter of rewiring the model. The training data needed to be looked at again to see how it could help the model figure out these prompts. More images and better data annotation became key to the solution.
Box annotation was a huge boon to the solution. A box around each object makes it possible to count them, which goes a long way toward solving numeration.
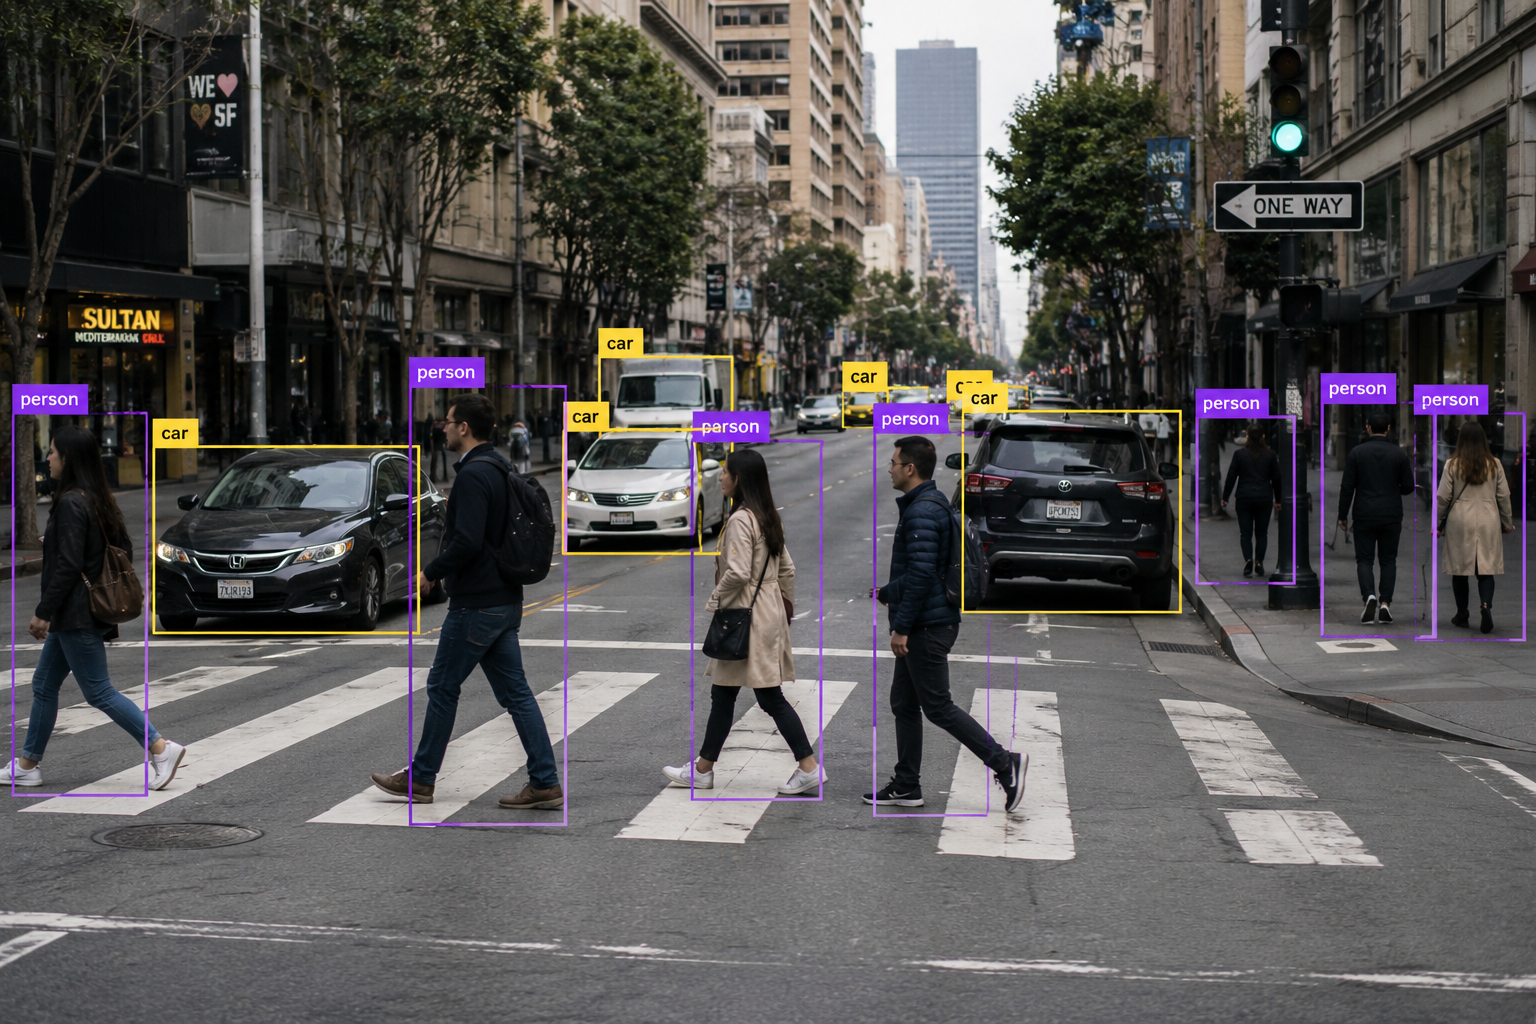
More robust image labels also helped solve positioning problems. With box annotation in place, captions and labels help the model learn what various prepositions and verbs mean with regard to spatial composition.
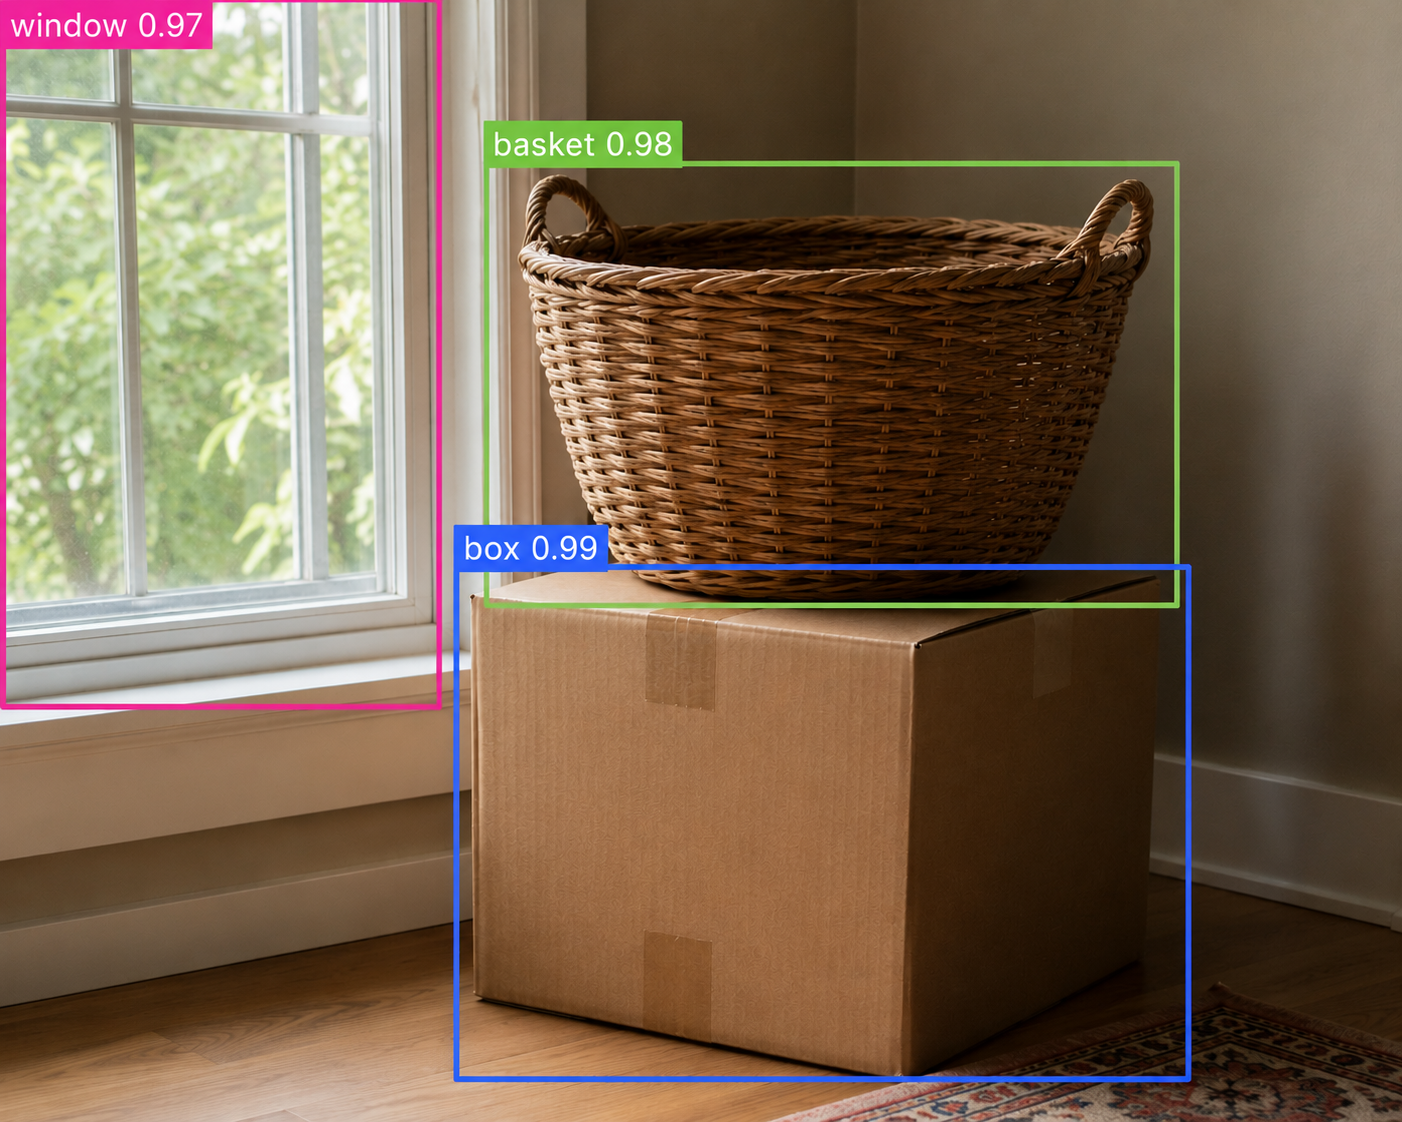
“A box under a basket”
“A basket and box next to a window”
In the case of negation, the model had trouble when one object was always expected to go with another, for example a house and a roof, or cheese with pizza. So the model would need images of houses with no roofs and pizza with no cheese as part of its training dataset, and also special negation labels.
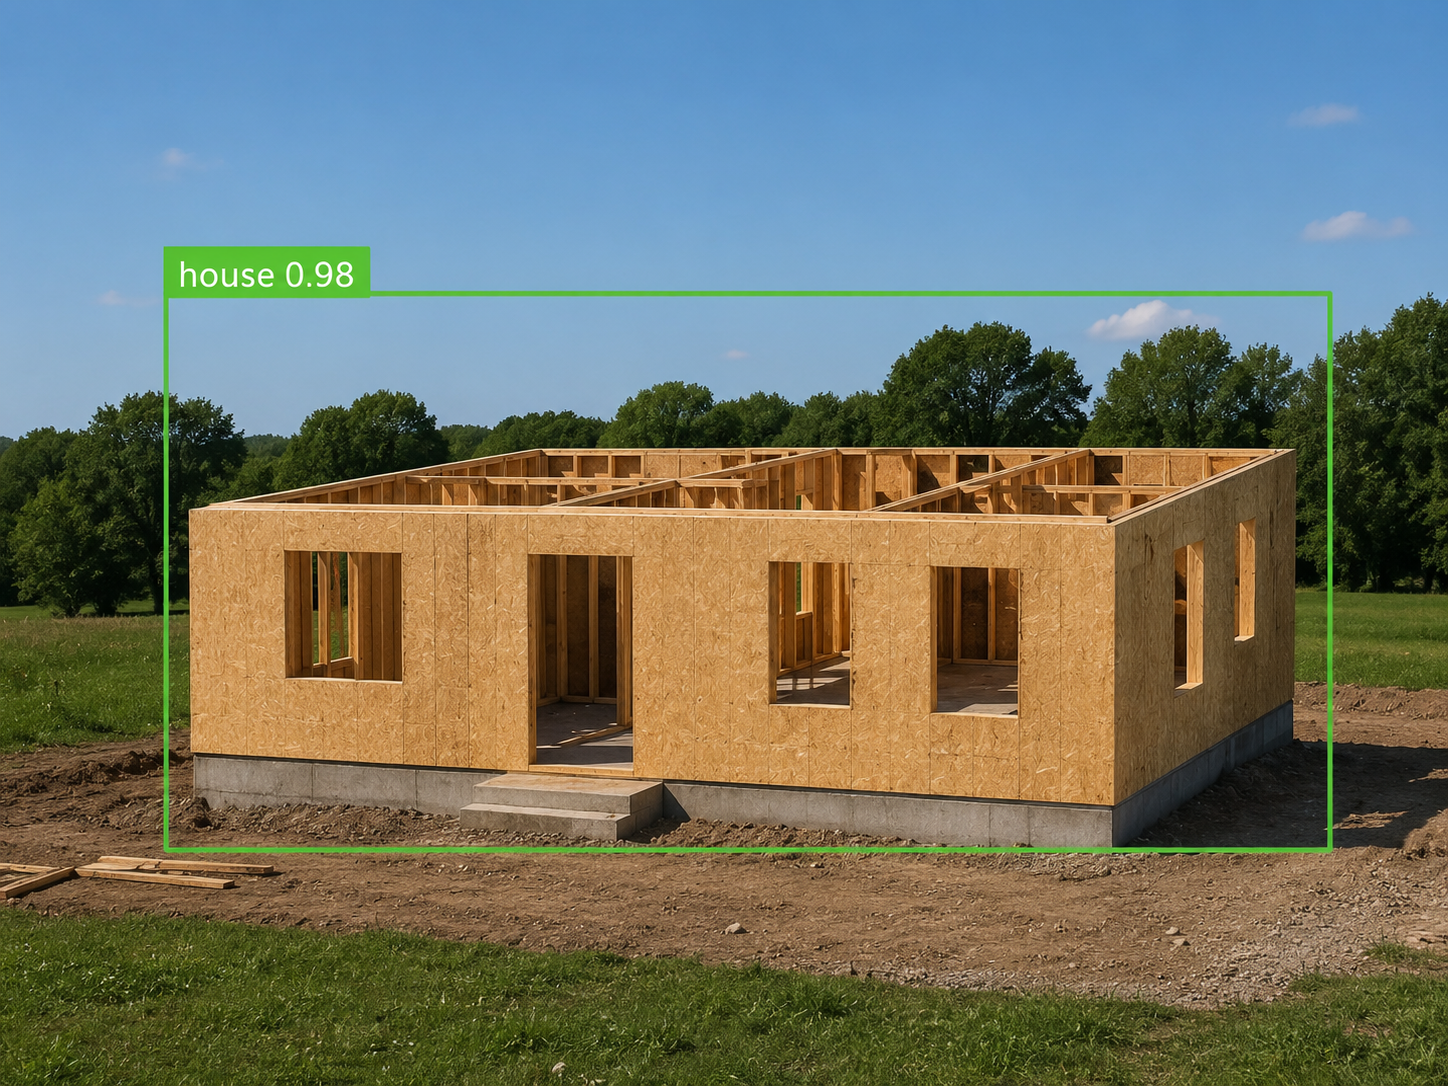
Negation label: “no roof”
The “no roof” label gives the model something to work with, even if the prompt is worded differently, as in “a house with its roof removed.”
It’s a lot better now
All the foundation models — DALL-E, Midjourney, and even specialty models like Leonardo — all incorporate compositional relationships into their thinking. The models themselves now work so well that if you run into these failures, it’s likely an issue with the training data.
The challenge of getting high-quality, well-annotated data for training is a topic all by itself, for another time.